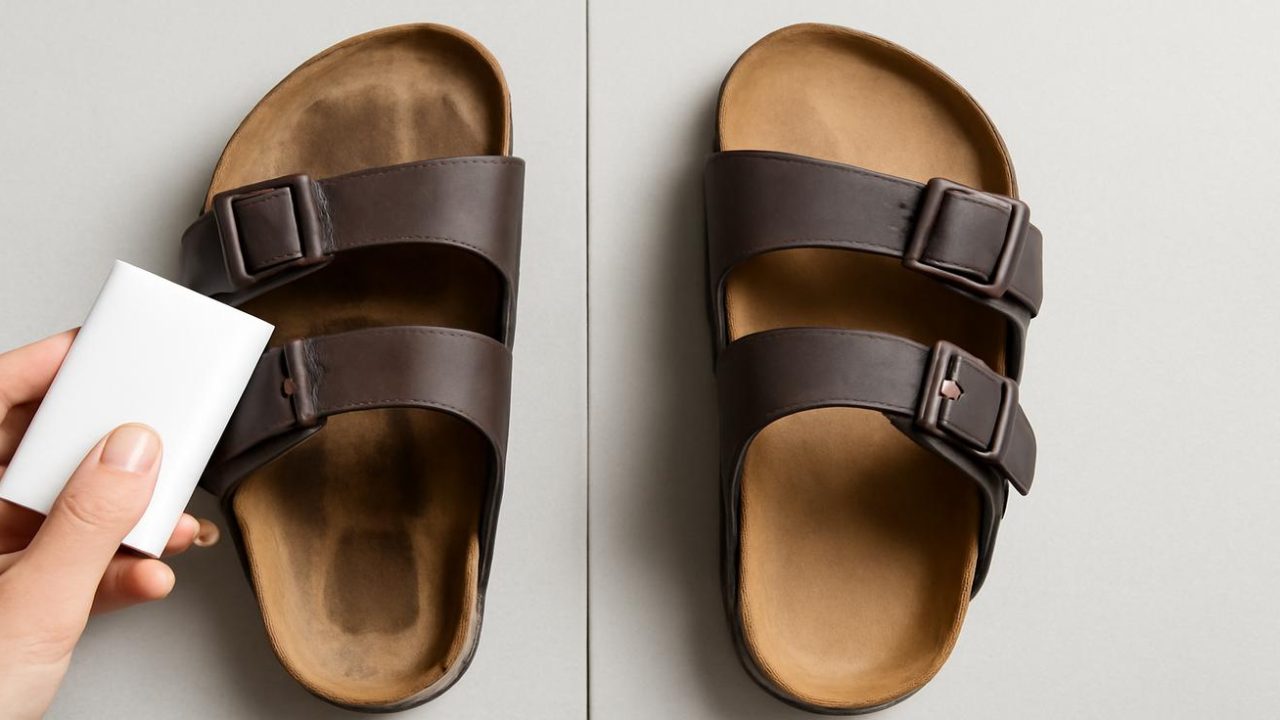
Keiko stood by her apartment door, staring down at her favorite leather sandals with a mix of frustration and embarrassment. Tomorrow was her daughter’s graduation ceremony, and these were the only dressy flats that didn’t hurt her feet after hours of standing. But there they were – those telltale dark footprint marks staining the tan leather insoles, making her beloved sandals look like she’d worn them through a muddy construction site.
“There has to be something I can do,” she muttered, remembering how pristine and expensive these sandals had looked just six months ago. What she didn’t know was that she was about to discover a simple trick that would make them look brand new again.
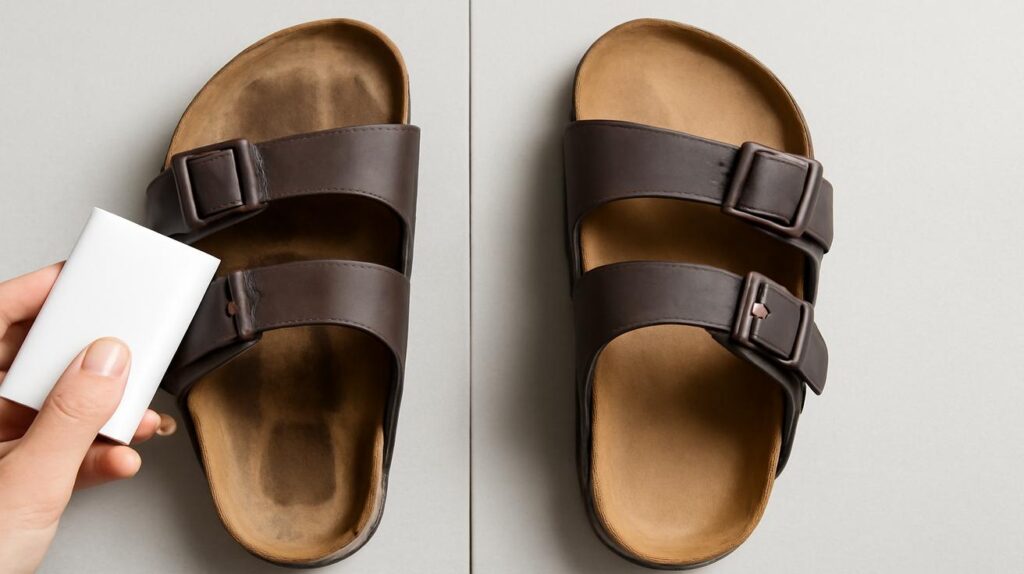
If you’ve ever owned a pair of light-colored sandals, you know exactly what Keiko was going through. Those dark footprint stains seem to appear overnight, transforming your stylish footwear into something that looks worn out and dirty, no matter how much you paid for them.

Why Your Sandals Develop Those Stubborn Footprint Marks
Before diving into the solution, it helps to understand what’s actually happening to your sandals. Those dark marks aren’t just dirt – they’re a combination of natural foot oils, dead skin cells, sweat, and environmental debris that builds up over time.
The problem becomes especially noticeable on lighter-colored materials like tan leather, cork, or fabric footbeds. Every step you take transfers a tiny amount of these substances onto the sandal surface, creating a gradual but persistent staining pattern that mirrors the shape of your feet.
Most people think these stains are permanent, but they’re actually quite manageable with the right approach. The key is understanding that different materials require slightly different treatment methods.
— Dr. Amanda Chen, Footwear Materials Specialist

What makes these stains particularly frustrating is how they seem to resist regular cleaning attempts. A quick wipe with a damp cloth barely makes a dent, leading many people to assume their sandals are permanently damaged.
The Game-Changing Cleaning Method That Actually Works
Here’s the simple trick that will restore your sandals to their original appearance: create a paste using baking soda and white vinegar, let it work its magic, then follow up with targeted cleaning based on your sandal material.
The process works because baking soda acts as a gentle abrasive that lifts embedded debris, while the vinegar breaks down oils and neutralizes odor-causing bacteria. Together, they create a powerful but safe cleaning combination that won’t damage most sandal materials.

Here’s your step-by-step cleaning arsenal:
- 3 tablespoons baking soda
- 2 tablespoons white vinegar
- 1 tablespoon warm water
- Old toothbrush or soft-bristled brush
- Clean cloth or paper towels
- Mild dish soap (for leather sandals)
- Pencil eraser (for rubber soles)
| Sandal Material | Primary Treatment | Drying Time | Special Notes |
|---|---|---|---|
| Leather | Baking soda paste + leather conditioner | 2-3 hours | Test in hidden area first |
| Cork | Baking soda paste + gentle scrubbing | 1-2 hours | Avoid over-wetting |
| Fabric/Canvas | Paste + soft brush treatment | 4-6 hours | Can handle more moisture |
| Rubber/Synthetic | Paste + eraser for tough spots | 30 minutes | Most durable option |
The mistake most people make is using too much water or harsh chemicals. This gentle method works because it addresses the root cause without damaging the material underneath.
— Marcus Rodriguez, Shoe Repair Specialist
The Detailed Restoration Process
Start by removing any loose dirt or debris from your sandals with a dry brush or cloth. This prevents you from grinding particles deeper into the material during cleaning.
Mix your baking soda and vinegar in a small bowl – it will fizz initially, which is perfectly normal. Add the warm water to create a spreadable paste consistency. If it’s too thick, add water drop by drop until you get the right texture.
Apply the paste directly to the footprint marks using your fingers or a soft brush. Don’t worry about covering the entire footbed – focus on the stained areas where your feet typically rest. Let the paste sit for 15-20 minutes to allow the ingredients to break down the accumulated oils and debris.
Using your old toothbrush, gently scrub the paste in circular motions. You should start seeing the stains lifting almost immediately. For stubborn spots, apply a little extra pressure, but be careful not to damage delicate materials like soft leather.

Wipe away the paste with a damp cloth, then clean any remaining residue with plain water. For leather sandals, follow up with a small amount of mild dish soap to remove any remaining oils, then condition the leather once it’s completely dry.
I’ve been using this method in my shop for over a decade. Customers are always amazed when they see their ‘ruined’ sandals looking like new again.
— Patricia Williams, Cobbler
Making Your Sandals Last Longer
Once you’ve restored your sandals, you’ll want to prevent those footprint marks from returning so quickly. The good news is that a few simple maintenance habits can dramatically extend the time between deep cleanings.

Consider rotating between multiple pairs of sandals if possible. This gives each pair time to air dry completely between wears, preventing the moisture buildup that accelerates staining. Even having just two pairs to alternate can double the lifespan of both.
Weekly maintenance makes a huge difference. A quick wipe with a slightly damp cloth after wearing removes surface oils before they have time to penetrate and stain. For leather sandals, a monthly application of leather conditioner keeps the material supple and more resistant to staining.
Prevention is always easier than restoration. Simple weekly care prevents 80% of the staining that leads people to throw away perfectly good sandals.
— Jennifer Kim, Footwear Care Expert

Store your sandals in a cool, dry place away from direct sunlight. Heat and UV rays can set stains permanently and cause materials to crack or fade. A shoe rack in your closet or a breathable shoe bag works perfectly.
When to Seek Professional Help
While this cleaning method works for most situations, some sandals might need professional attention. If your sandals are made from exotic materials like suede, patent leather, or have special coatings, it’s worth consulting a professional cobbler before attempting any cleaning.
Similarly, if the footprint marks have been there for years or the sandals have sentimental value, professional restoration might be worth the investment. Many shoe repair shops offer specialized cleaning services that can handle even the most challenging cases.

The beauty of this simple cleaning trick is that it costs less than five dollars in supplies and can restore sandals that might otherwise end up in the trash. Next time you’re staring at those stubborn footprint marks, remember Keiko’s story – and give your favorite sandals the second chance they deserve.
FAQs
How often should I clean footprint marks from my sandals?
Clean them as soon as you notice the marks forming, typically every 2-3 weeks with regular wear.
Will this method work on expensive designer sandals?
Yes, but test the cleaning paste on a hidden area first to ensure it won’t damage special finishes or dyes.
Can I use this method on sandals with fabric straps?
Absolutely, but be more gentle with fabric areas and allow extra drying time to prevent mold or mildew.
What if the baking soda paste doesn’t remove all the stains?
For stubborn stains, repeat the process or try using a pencil eraser on the remaining marks before applying the paste again.
Is it safe to put sandals in the washing machine instead?
Most sandals shouldn’t go in the washing machine as it can damage adhesives, cause shrinkage, or warp the shape.
How long do restored sandals typically stay clean?
With proper care and rotation, you can expect 6-8 weeks before needing another deep cleaning treatment.


Leave a Comment